Registered customers
The customers table available in Users > Customers represents a list of registered customers who have access to SympoQ account.
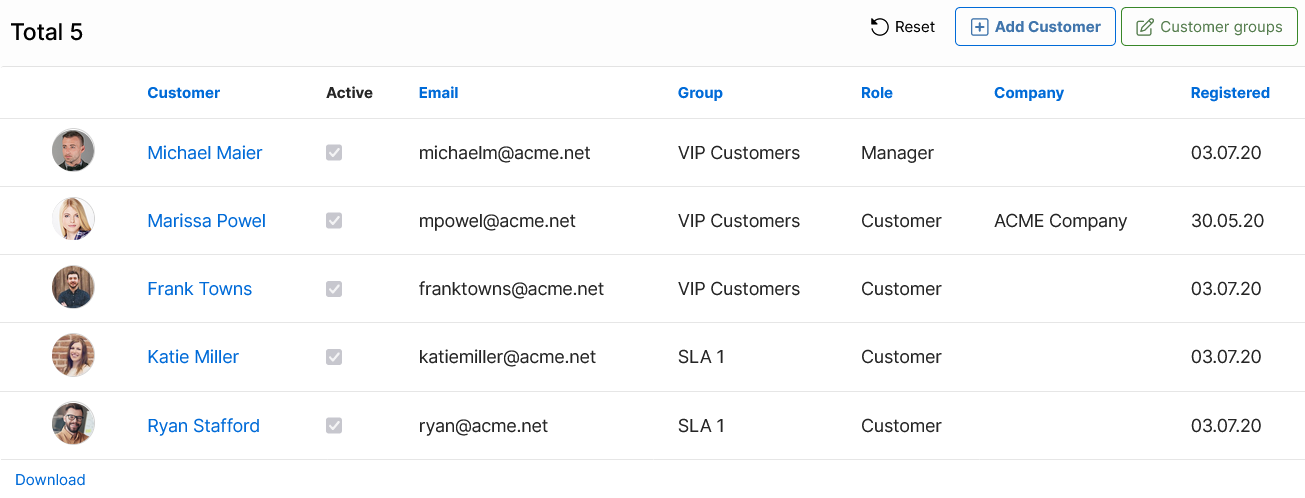
The customer list allows you to:
- filter the list using filters from the left-pane: Group, Role, Company, and Country.
- search customers throughout the list for a specific name
- sort the list - click the column header of the value you want to sort by: Customer (name), Email, Group, Role, Company, and Registered (date),
- download the data in CSV format
- add and edit customers.
To edit Customer details, click the customer name, or click the Add Customer button to add a new agent.
Customer details
The following customer details are available:
- Send registration e-mail: Send registration email message with login credentials after the account is created. The option is available only when adding a new customer
- Name: Customer full name
- Email: Email address
- Username: Username to use in the Login form. Enter 5 to 31 characters. You may use letters, numbers, hyphens, underscores, @ and dot (.). It's usually same as the email address
- Password: appears only on new agent entry: enter Password at least 5 characters long.
- Role: Select the corresponding Rolefrom the list - Customer or Customer Manager
- Group: Select Customer group from the select list.
- Active: Enable/disable the customer's access to Self-service Portal, as well as their availability
- Enable notifications: Enable/disable email notifications to customer invoked by Workflow rules
- Avatar: Customer's photo/avatar that appears along with the customer's name across the site
- Company
- Url
- Address data: Country, Region, Address, Postcode/ZIP, City
- Phone and Mobile phone
- External ID: Enter ID as a reference to external or 3rd party system, e.g. HRMS
Each customer can change their details from the profile page, except the following: Group, Role, Active, Enable notifications, and External ID.
Change password
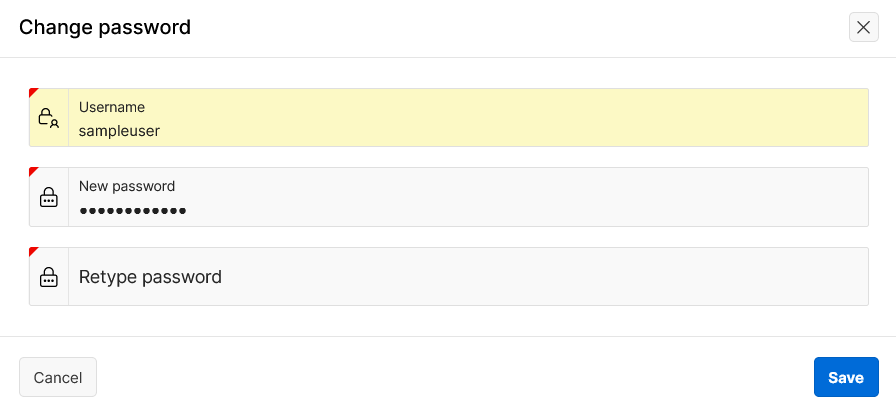
To change the user password and login/username, click the Change password button, and enter the following data:
- Username: Enter a new username or retype the old, if you do not want to change.
- New password: Enter at least 5 characters long string. Use 5 to 31 characters. You may use letters, numbers, hyphens, underscores, @ and dot (.).
- Retype password: Retype the password entered in the previous field.
Customer groups
An organization can have business contacts with more than one customer for providing various services of the organization. To group one or more customers altogether, SympoQ allows creation of customer groups. They are used in various functions and features, such as:
- Filtering Ticket list by Customer group
- Running Analytic reports aggregated by Customer group
- Settings submission actions in Workflow rules, etc.
To edit the customer group list, click the Customer groups button.

To add a new Customer group:
- Click Add Row button
- Enter the group Name
- Enter the Description for your own reference
- Click the checkbox to make the groups Active. Non-active groups are not visible in other data and settings sections.
- Click Save button.
Repeat steps above to add more customer groups.
To delete a customer group:
- Click the Actions menu icon in front of the Group you wish to delete
- Choose Delete Row from the action list
- Click Save button.
Warning
If the Group already contains registered customers, the group can not be deleted.
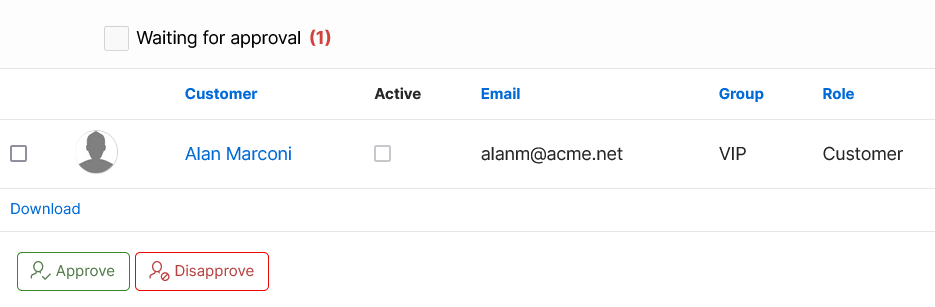
Waiting for approval
If there are self-registered customers waiting for approval, they are listed along the registered customers in the list. You can filter the list to show only customers waiting for approval by checking the Waiting for approval checkbox.
Note
The Waiting for approval process is dependent of the following settings:
- The self-registration process must be enabled in the General settings section: Guest access - Join.
- The option Registration needs approval must be enabled in the Settings > Self registration section. Otherwise, the self-registration is automatically approved.
To approve/dissaprove the self-registration:
- Select the checkbox(es) in the row with Customer(s) you wish to approve.
- Click the Approve or Disapprove button.
Warning
- Once you approve the registration, the customer will receive the User registration message using the appropriate email template with automatically generated login credentials: Username and Password.
- The user registration message is sent from a notification-only email address that does not accept incoming emails or user replies. This note is also added to the email registration notification.
Tip
You can click the Customer's name to check the full customer's details.